A recognition photo does most of its work in the first day or two. After a week it gets a polite nod and gets forgotten, and a lot of corporate AV teams don’t deliver the frames until weeks later, by which point the moment has gone cold.
I’ve watched a full shelf of crystal trophies and a roomful of long-service recipients get photographed by one comms intern on a borrowed camera set to auto, and the newsletter ships with a handful of usable frames and not one clean shot of any engraving. The trophy lives on one shelf. The photo lives in the newsletter, on LinkedIn, in the year-end deck, on the intranet wall. Bad photography halves the recognition before it ever reaches the audience.
So here’s the six-step plan I give clients to get shareable shots for every recipient, even when your “photographer” is the MC’s friend with a decent camera, scout the lighting, frame at chest height, clear the backdrop, take two shots per recipient, control the glare on crystal, and share within 24 hours.
Step 1, Scout the venue lighting 90 minutes before guests arrive
The biggest variable in event photography is the venue. Hotel ballrooms in KL all look similar but light very differently.
One convention-centre grand ballroom will default to warm tungsten with mixed LED uplights; a resort ballroom across town runs cooler; some hotel halls have overhead spots that hit crystal hard. You can’t assume, you have to look.
Walk the venue 1-2 hours before guests arrive, ideally with one of the actual trophies in hand for testing.
What to check:
- Colour temperature of the stage lighting. Most hotel ballrooms run warm tungsten (~3000K) with mixed LED uplights. Mixed lighting confuses cameras and turns crystal trophies into amber blobs. Set your camera’s white balance manually rather than relying on auto.
- Coloured gels and uplights. Sponsor branding often involves coloured uplights, corporate red, blue, royal purple. These colours wash directly onto trophies on stage. If the gel colour is going to ruin the shot, ask the AV team to dim the worst-offending fixtures during photography moments. Most AV teams are happy to comply if asked politely 90 minutes before the event.
- Glare hotspots on crystal. Walk the front of the stage with a crystal trophy and watch for sharp white reflections from spotlights. Reposition the trophy presentation point if a key spotlight is creating an unmanageable glare.
- Backdrop and stage skirt. Look at what’s behind the recipient at the moment of the handshake. Is it a clean branded backdrop, or does the camera see a busy logo wall, exit signs, water station, AV gear?
- Ambient ballroom lighting. Will the room be in full conference mode (fluorescent overhead) or dimmed for ceremony? Dimmed is more flattering but tougher to expose. Full lighting is easier but flatter.
Take three test shots, wide, medium, tight, and review them on screen before guests arrive.
If the white balance is wrong, the glare is bad, or the backdrop is cluttered, fix it now. Once the ceremony starts, you have no time to adjust.
Step 2, Frame at chest height (the single rule that makes the difference)
Where the trophy sits during the handshake determines whether the photo is usable. Shoulder-height puts the trophy in front of the recipient’s face. Waist-height makes them hunch. Chest-height threads the needle.
The framing rule:
- Chest height is the goal, visible to the camera, below the chin so it doesn’t block the recipient’s face, above the waist so the recipient isn’t hunched.
- Both presenter and recipient face the camera, not each other. The handshake is to one side; faces forward.
- Trophy held in two hands by the recipient (or one hand, with presenter clearly handing it over). Single-hand grip can look casual.
- Pause at the photo moment. Brief the MC to call “and now the photo” and pause for 2-3 seconds. Most recipients walk straight off stage; the MC’s pause gives the photographer a clean shot.
Brief the recipients beforehand if you can. A short note in the run-of-show document or a verbal briefing 5 minutes before they go on stage.
“When you receive the trophy, hold it at chest height with both hands, face the camera, smile, hold for two seconds.” Most recipients are happy to be coached. Nobody wants a bad photo of themselves.
If the presenter is significantly taller or shorter than the recipient, plan the staging. Tall presenters and short recipients on the same level look odd.
Consider the presenter standing slightly forward and the recipient slightly back, or both turning fractionally to camera. A 10-second adjustment beats a permanent awkward photo.
Step 3, Clear the backdrop before the first guest arrives
Background clutter ruins more event photos than any other single factor. The photographer is focused on the people. The camera sees everything behind them too.
Stage backdrops at corporate events accumulate visual clutter as the night progresses, water bottles, programme booklets, mic stands, half-folded banners, ushers in motion, the AV crew member who picked the wrong moment to check a cable.
Before the ceremony starts, do a backdrop walk-through:
- Remove or relocate. Anything that doesn’t need to be on stage during photography moves. Water bottles to a side table. Spare microphones off-stage. Programme booklets to ushers’ hands.
- Position branded backdrops correctly. Pull-up banners and branded backdrops should be positioned so they appear behind both presenter and recipient at the photo angle, not visible on one side and invisible on the other.
- Brief event staff. Tell ushers and AV crew to stay out of frame during photography moments. They will if asked clearly. They won’t think of it on their own.
- Manage stage transitions. Between recipients, a few seconds of busy stage movement happens. Brief the MC to pause briefly between awards so the photographer isn’t shooting through transition chaos.
- Watch for branded conflict. Sponsor banners and award trophies sometimes carry conflicting logos. If the recognition program has its own visual identity, position it so the trophy and backdrop tell a coherent story.
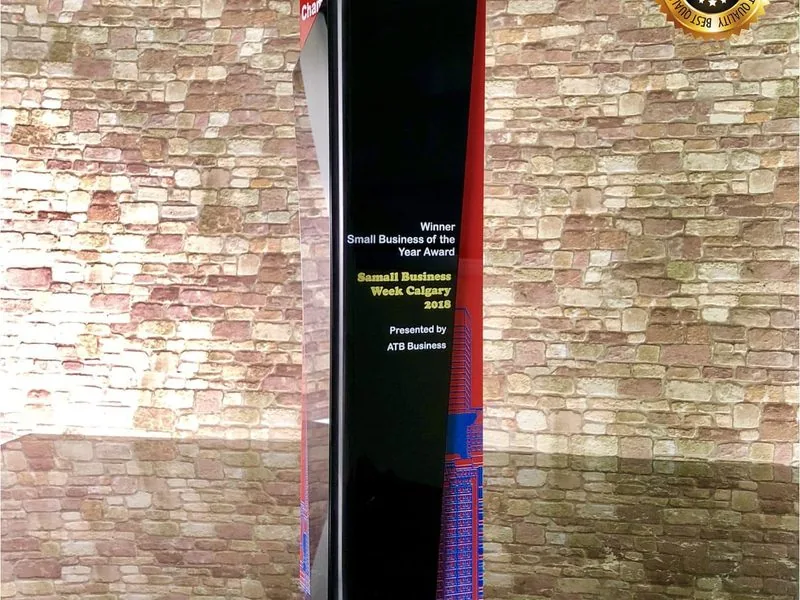
For permanent venues with fixed backdrops (corporate auditoriums, in-house event spaces), the discipline is harder. You can’t move the architecture.
Instead, frame tight on the people and let depth of field blur the backdrop. A wider aperture (f/2.8 or wider) and longer focal length (85mm or longer) push background detail out of focus and isolate the subject cleanly.
Step 4, Capture two shots per recipient (one for them, one for HR)
Two photos per recipient is the discipline. Each photo serves a different purpose, lives in a different channel, and reaches a different audience.
| Shot | Audience | Channel | Frame |
|---|---|---|---|
| Handshake moment | Recipient + family + LinkedIn network | Recipient’s personal share | Both faces forward, trophy at chest height |
| Trophy close-up | HR + internal comms + recognition wall | Newsletter, intranet, year-end deck | Tight on trophy, engraving sharp |
| Optional portrait | Year-end deck + future anniversary | Archive | Recipient holding trophy, soft-focus background |
Photo 1: the handshake moment. Both people facing camera, trophy at chest height, mid-handshake. Goes to the recipient for personal sharing. Get it sharp, get it well-lit, get the faces clear.
Photo 2: the trophy alone (or trophy held by recipient close-up). Tight on the trophy, engraving sharp. Goes to internal HR for the newsletter, the recognition wall, the year-end deck. The proof-of-recognition shot.
The close-up specifics:
- Frame tight. Fill the frame with the trophy face. Not so tight that the engraving lines are cropped, but tight enough that the engraving is the focus.
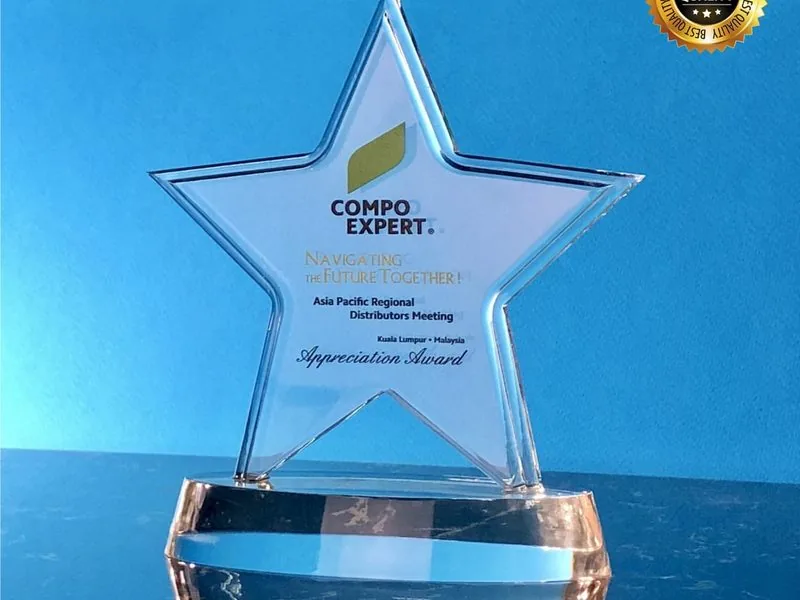
- Angle to read engraving clearly. Crystal trophies have engraving inside the body. Angle the trophy 5-10 degrees from straight-on to make the engraving pop against the background. Acrylic and wood plaques read best straight-on.
- Hold by recipient where appropriate. If the recipient is happy to hold the trophy for the close-up, that’s the strongest shot. Face soft-focus in the background, trophy and engraving sharp in the foreground. If they prefer not to, photograph the trophy alone on a clean surface.
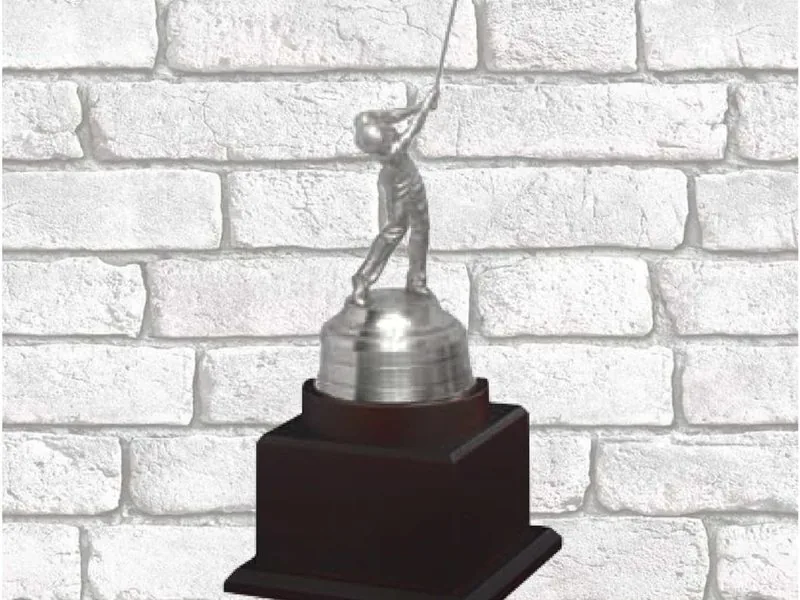
- Capture material detail. Crystal facets catch light. Pewter has texture. Wood has grain. The close-up is where the material craftsmanship of the piece becomes visible. Don’t flatten it with hard frontal flash.
For high-volume programs (20+ recipients in one ceremony), allocate 60-90 seconds per recipient including handshake, two photos and exit. Faster than that becomes rushed and the photos suffer.
Step 5, Use natural or off-camera light to control glare on crystal
Crystal trophies are beautiful and photographically painful. They reflect every light source in the room. Direct on-camera flash creates sharp white hotspots on the crystal that destroy the engraving’s visibility.
The lighting toolkit:
- Diffused natural light. If the venue has large windows and the ceremony is during daylight, position the recipient so window light falls on them at a 45-degree angle. Soft, even, flattering. Hardest to control. Not always available.
- Off-camera flash bounced off ceiling or wall. A flash unit positioned 30-45 degrees off-axis from the camera, bounced off a white ceiling or wall, gives soft directional light. Crystal trophies photograph cleanly under bounced flash.
- On-camera flash with diffuser. If on-camera flash is the only option, use a soft diffuser (a small softbox or a translucent dome) to spread the light. Better than direct flash. Not as good as off-camera.
- Continuous LED panels. For controlled photography corners (red carpet style), a continuous LED panel at 5500K with a softbox modifier gives consistent, predictable light. Useful for the close-up shot of the trophy alone.
- Avoid direct overhead spotlights. Stage spotlights pointing straight down create unflattering shadows under the eyes and harsh hotspots on crystal. If the venue has these, work with the AV team to soften or angle them.
For the close-up shot specifically, set up a small photography spot off-stage, a clean table, a roll of paper or a fabric backdrop, one or two small softbox lights.
Recipients can briefly stop here after the stage handshake for their close-up. This separates the ceremonial shot from the product shot and lets you control lighting precisely for the latter.
If you don’t have professional lighting kit, a single small video LED panel (cheap at any camera shop) used as a key light with bounced ambient as fill produces respectable results.
It’s a worthwhile small investment for any in-house comms team that runs more than 2-3 recognition events per year.
Step 6, Share within 24 hours, archive within a week
The internal-comms half-life of a recognition photo is short.
A photo shared within 24 hours generates LinkedIn shares, internal Teams reactions, all-hands callouts. A photo shared a week later gets a polite acknowledgement and is forgotten.
Three weeks later, nobody cares. Worse, the recipient feels their recognition was an afterthought.
The same-day workflow:
- Photographer culls and processes during the event or immediately after. Cull is the brutal first pass, keep only the best 2-3 frames per recipient. Process is light editing: white balance, exposure, crop.
- Deliver raw selects to HR or comms team within 24 hours. Higher resolution, ready for internal use.
- Share with recipient personally. A direct message or email to the recipient within 24 hours with their best photo, captioned simply (“Congratulations, here’s the photo from last night”). This is small but generates a lot of goodwill.
- Post to internal channels within 48 hours. Internal newsletter, Teams general channel, recognition wall, intranet news. Move fast.
- Post to company social channels within a week. LinkedIn company page, Instagram corporate account. Tag the recipient if they’re comfortable being tagged.
- Archive the original files for the recognition program archive. See our recurring recognition program guide, these photos belong in the year-on-year archive folder for future reference.
A practical comms note: for events with high external visibility (industry awards, public ceremonies), align with the recipient’s PR or comms team before posting. For internal recognition events, default to fast posting with simple recognition language.
Bonus: the white-T-shirt-and-phone trick that beats most rented kit
Field-tested at half a dozen mid-size corporate dinners we’ve supplied trophies for: when there’s no budget for a photographer or a softbox, hand a colleague a clean white cotton T-shirt (folded into a 30cm × 30cm pad) and a modern phone with a capable night mode.
Position the colleague behind the photographer’s shoulder. As the handshake happens, they hold the white T-shirt up at 45 degrees to the trophy face. It bounces enough ambient stage light onto the engraving to lift it from invisible to readable.
The trophy close-up shot taken immediately after the handshake (with the T-shirt still as a fill reflector) consistently outperforms shots from professional cameras with no fill light.
Total cost: a clean T-shirt. Total kit weight: 80 grams.
Next step. Block 15 minutes the day before the ceremony to brief whoever is photographing, even if it’s an in-house comms intern. Send them this guide. Confirm camera, lens, backup battery, memory card, and at least one bounce surface (T-shirt, white reflector, or off-camera flash). The post-ceremony share-out plan should already be on the calendar before the first guest arrives.
For broader recognition-program context, see the corporate awards Malaysia and long service awards Malaysia guides, the recurring recognition program guide, the annual recognition program calendar, and our process page for what HR coordinators usually need from their supplier on event week. WhatsApp +60 12-213 6631 if you’d like KL-based event photographer recommendations we’ve worked with.
The recipient's face and the engraving on the trophy are the two things that matter. Frame for both, light for both, share both.